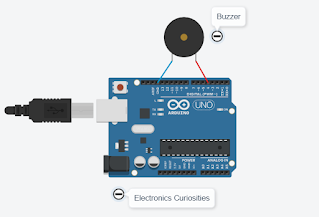
Circuit Diagram with Arduino Uno
Requirements
- Arduino Nano
- Breadboard
- Jumper Wire
- Usb cable
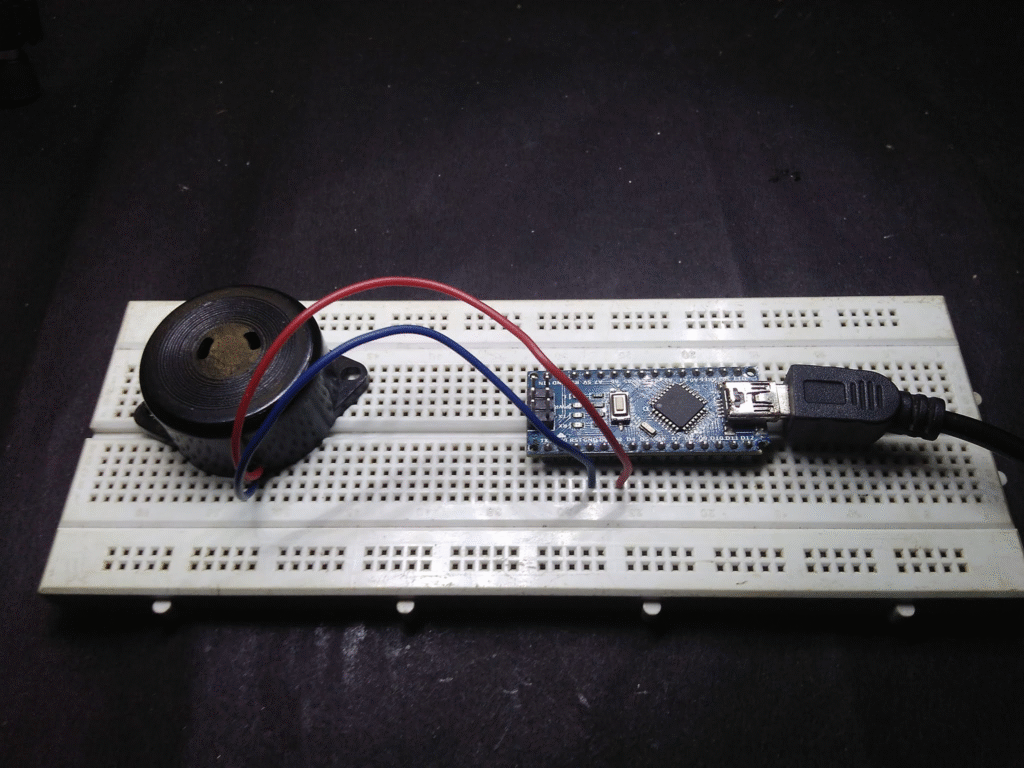
Connect positive wire of buzzer to D4 Digital pin of Arduino and negative wire to Ground pin of Arduino.
Also Check – Pins Description and Hardware Components on Arduino Uno
Code for Arduino Nano and Arduino Uno are same.
CODE
int speakerPin = 4;

int length = 28; // the number of notes

char notes[] = "GGAGcB GGAGdc GGxecBA yyecdc";

int beats[] = { 2, 2, 8, 8, 8, 16, 1, 2, 2, 8, 8,8, 16, 1, 2,2,8,8,8,8,16, 1,2,2,8,8,8,16 };

int tempo = 150;

void playTone(int tone, int duration) {

for (long i = 0; i < duration * 1000L; i += tone * 2) {

   digitalWrite(speakerPin, HIGH);

   delayMicroseconds(tone);

   digitalWrite(speakerPin, LOW);

   delayMicroseconds(tone);

}

}

void playNote(char note, int duration) {

char names[] = {'C', 'D', 'E', 'F', 'G', 'A', 'B',

                 'c', 'd', 'e', 'f', 'g', 'a', 'b',

                 'x', 'y' };

int tones[] = { 1915, 1700, 1519, 1432, 1275, 1136, 1014,

                 956,  834,  765,  593,  468,  346,  224,

                 655 , 715 };

int SPEE = 5;

// play the tone corresponding to the note name

for (int i = 0; i < 17; i++) {

   if (names[i] == note) {
    int newduration = duration/SPEE;
     playTone(tones[i], newduration);

   }

}

}

void setup() {

pinMode(speakerPin, OUTPUT);

}

void loop() {

for (int i = 0; i < length; i++) {

   if (notes[i] == ' ') {

     delay(beats[i] * tempo); // rest

   } else {

     playNote(notes[i], beats[i] * tempo);

   }

   // pause between notes

   delay(tempo);

}

}
Watch on YouTube
Thank You!
Happy Learning!